Use case: I have two banners. Which one is better?

Use case: I have two banners. Which one is better?
Using affordable eye tracking.
Deciding which graphic design is better can be difficult. You can easily decide on feedback from real users. Use our affordable eye tracking system where everyone can become your tester. Testers should have a webcam (most laptops have a built-in webcam that can be used for eye tracking).
How about it?
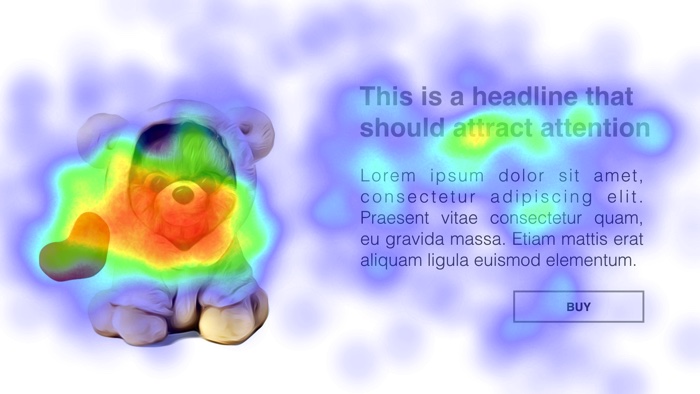
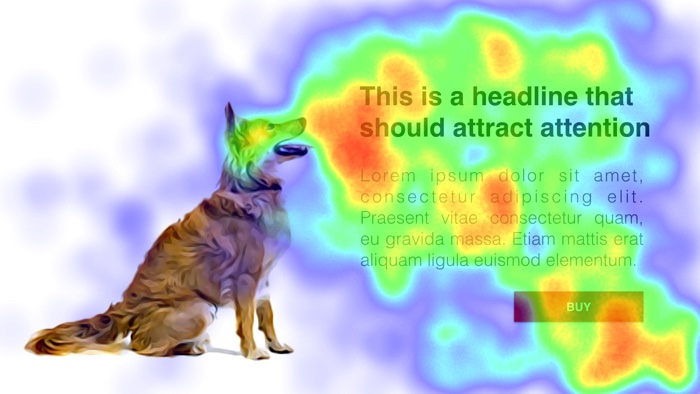
You have two different graphic designs (banners)


Create a new experiment for the first banner. Name it e.g. "Banner #1". Activate the experiment.
Create another experiment for the second banner. Name it e.g. "Banner# 2". Activate the experiment.
Create a new study. Name it e.g. "My Study 1"
Add experiments "Banner #1" and "Banner #2" to the study.
Activate a combined experiment for this study.
You can share an experiment link straight away
When the experiment link is opened by tester, the calibration is performed and an images are displayed. A webcam is used to capture what the testers are interested in. No video is recorded. The entire test takes only a minute (depending on the duration setting of the experiments). Tester can optionally enter personal information at the end of test (name, sex, age and note for you).
All individual results are available in administration of your experiments immediately. You can analyze it in heatmap or lightmap. Results can be exported to PNG image.
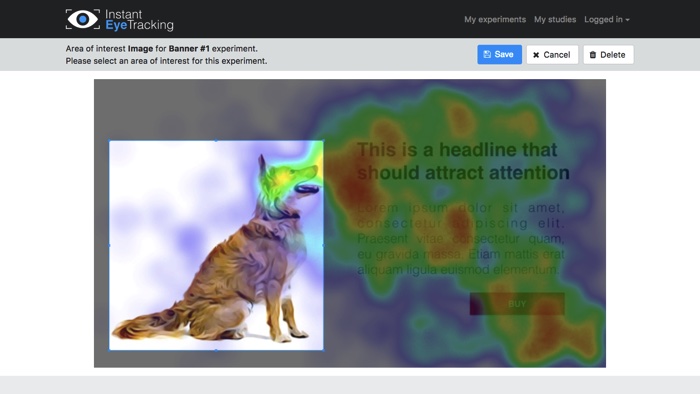
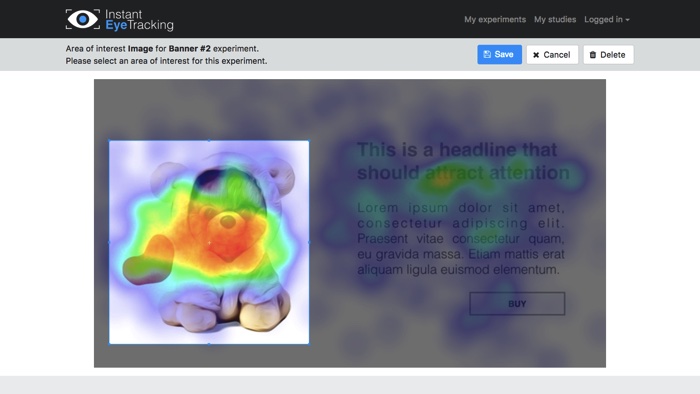
For a clear and easy comparison, you can define areas of interest (AOI)
Click the "+AOI" button in the "My Study 1" experiments table. Name it as "Title." Add additional areas such as "Button", "Image" or "Description". Set the interest areas in the images.


Click the label of AOI to set its weight. E.g. AOI "Title" and "Button" have a weight of 100% and AOI "Image" only 20%. Because the headline statement and the action button are more important than the decorative picture.
Now, a clear winner of the study is evaluated
The best experiment is Banner #1.
Start eye tracking experiment now